
A Step-by-Step Guide to Installing a Graphics Card
Upgrading or installing a graphics card (GPU) is one of the most exciting improvements you can make to a computer. Whether you’re chasing smoother gaming performance, better video editing speeds, or simply replacing a faulty card, the process is much more approachable than it sounds. You don’t need to be a computer expert—just a little patience, the right prep, and a willingness to take it one step at a time.
In this guide, I’ll walk you through everything you need to know to safely install a graphics card, from preparing your system to optimizing performance after installation. If this is your first time opening up your PC case, don’t worry—we’ll keep things simple and stress-free.
Preparing for Installation
Before you touch any hardware, preparation is key. Taking a few minutes to get ready can save you from frustration (and potential damage) later.
Check Compatibility First
Not all graphics cards work with all computers. Make sure your power supply has enough wattage for the new GPU and includes the proper power connectors (such as 6-pin or 8-pin PCIe cables). Also check that your case has enough physical space—modern GPUs can be surprisingly large.
Next, confirm that your motherboard has a PCIe x16 slot, which is standard on most modern systems. If your PC is older, double-check the motherboard specifications just to be safe.
Gather Your Tools
You don’t need much:
- A Phillips-head screwdriver
- A clean, well-lit workspace
- An anti-static wrist strap (optional but recommended)
Avoid working on carpet if possible, and make sure your hands are clean and dry.
Power Down and Disconnect
Shut down your computer completely and unplug it from the wall. Flip the power supply switch to the off position and hold the power button for a few seconds to discharge any remaining electricity.
Remove the side panel of your case—most modern cases use thumbscrews, making this step easy.
Removing the Old Graphics Card (If Applicable)
If you’re replacing an existing graphics card, you’ll need to remove it first. Take your time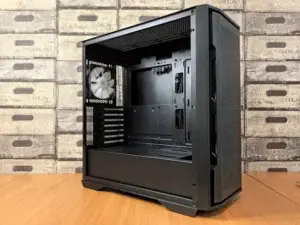 here—this step is simpler than it looks.
Uninstall Old Drivers
Before physically removing the card, it’s a good idea to uninstall the old GPU drivers through your operating system. This helps prevent software conflicts later. You can do this from your system’s control panel or settings menu.
Disconnect Power Cables
Inside the case, locate the graphics card and unplug any power cables connected to it. These usually come directly from the power supply.
Unscrew and Release the Card
The graphics card is secured to the case with one or two screws near the back panel. Remove these screws and set them aside.
Next, gently press the small release latch at the end of the PCIe slot on the motherboard. Once released, carefully pull the card straight out using steady pressure. Avoid twisting or forcing it.
Place the old card somewhere safe, preferably in an anti-static bag.
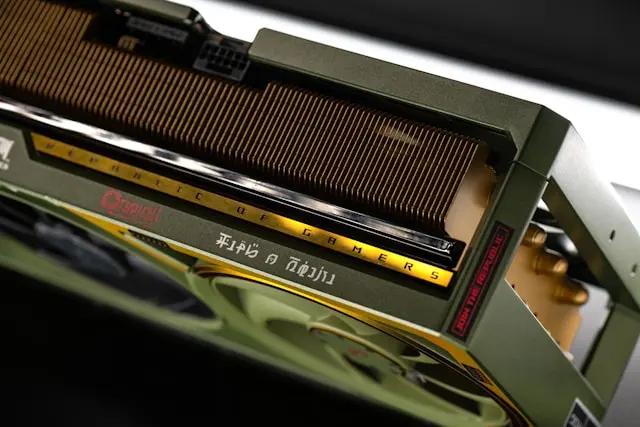
Installing the New Graphics Card
Now for the fun part—installing your new GPU!
Align the Card Properly
Locate the PCIe x16 slot on your motherboard. Remove the corresponding expansion slot covers from the back of the case if they aren’t already removed.
Hold the graphics card by its edges and line it up with the slot. Make sure the rear bracket aligns with the case opening.
Insert the GPU
Firmly but gently press the card straight down into the slot until it clicks into place. You should hear or feel the PCIe latch lock the card in.
Once seated, secure the card to the case using the screws you removed earlier. This keeps the GPU stable and prevents sagging.
Connect Power Cables
Attach the required PCIe power connectors from your power supply to the graphics card. These connectors only fit one way, so don’t force them.
Double-check that all connections are snug and that no cables are interfering with the GPU fans.
Close the Case
Before closing the case, take a quick look around to make sure everything looks tidy. Then replace the side panel and tighten the screws.
Configuring and Optimizing Your GPU
With the hardware installed, it’s time to bring your new graphics card to life.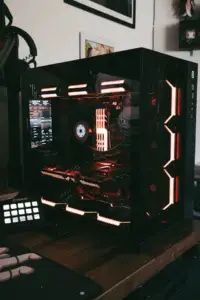
Power On and Install Drivers
Plug your computer back in and turn it on. Your system should boot normally, though it may use basic display settings at first.
Download the latest drivers directly from the GPU manufacturer’s website (NVIDIA, AMD, or Intel). Avoid using third-party driver sites. Install the drivers and restart your computer when prompted.
Adjust Display Settings
Once drivers are installed, you can adjust your screen resolution and refresh rate through your display settings. Make sure your monitor is set to its native resolution for the best image quality.
If you’re gaming, open the graphics control panel (like NVIDIA Control Panel or AMD Adrenalin) to fine-tune settings for performance or visual quality.
Monitor Temperatures and Performance
Use monitoring tools to keep an eye on GPU temperatures, especially during gaming or heavy workloads. Proper airflow is important—make sure your case fans are working and unobstructed.
If temperatures seem high, consider improving airflow or adjusting fan curves through the GPU software.
Test Your System
Launch a game or run a benchmark to ensure everything is working correctly. Watch for unusual noises, crashes, or graphical glitches. Most issues, if they occur, are driver-related and can be resolved with updates or reinstallations.
Conclusion
Installing a graphics card might feel intimidating at first, but once you break it down into simple steps, it’s a very manageable upgrade—even for beginners. With proper preparation, careful handling, and a bit of patience, you can dramatically improve your computer’s performance and capabilities in under an hour.
Whether you’re upgrading for gaming, creative work, or everyday use, learning how to install a GPU is a valuable skill that gives you more control over your PC. Plus, there’s nothing quite like powering on your system and knowing you installed that shiny new hardware yourself.
If you have questions, ran into issues, or want to share your GPU upgrade experience, feel free to leave a comment below. I’d love to hear how your installation went!