
Computer Hardware Repair: What You Can (and Can’t) Fix Yourself
Introduction
If your computer suddenly starts acting up, it’s easy to panic. Maybe it won’t turn on, or perhaps it’s running sluggishly and making strange noises. Before you rush to replace the whole system or pay a hefty repair bill, it’s worth learning which parts of your computer you can repair yourself—and which ones are better left alone.
Computer hardware repair doesn’t have to feel intimidating. With the right tools, a careful approach, and a little knowledge, you can handle many basic fixes at home. In this guide, we’ll cover the essentials: the types of repairs you can take on, the tools you’ll need, which parts can usually be serviced, and which components are simply not worth the risk.
By the end, you’ll feel more confident about what you can tackle and when it’s best to seek professional help.
Hardware Repairs
Let’s start with the basics: what does “hardware repair” even mean? Simply put, it’s fixing or replacing the physical parts of your computer—the stuff you can touch, like your RAM sticks, power supply, or cooling fans.
Some examples of common hardware repairs include:
- Replacing faulty RAM that’s causing crashes or blue screens

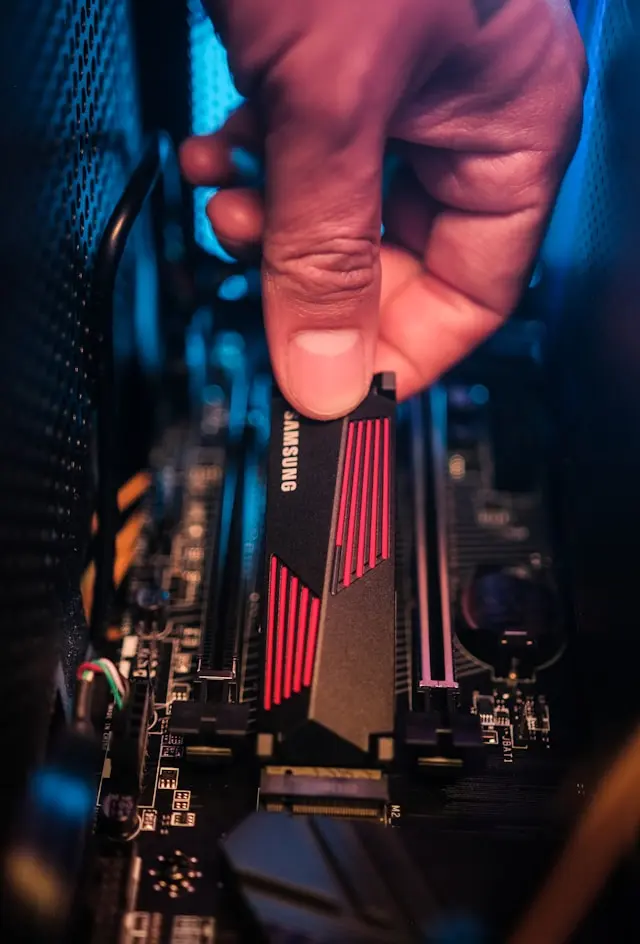
- Swapping out a dead hard drive or SSD
- Installing a new power supply when the old one fails
- Cleaning and replacing cooling fans to prevent overheating
- Reseating cables and expansion cards that may have come loose
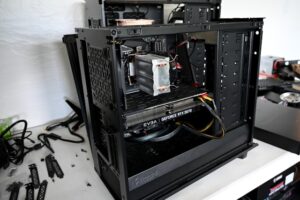
The great thing about hardware repairs is that many of them follow a simple “remove and replace” process. If something no longer works, you often just swap it out for a compatible part. That makes hardware repair far more approachable than it might sound at first.
Tools for Making Repairs
Before you roll up your sleeves, you’ll need the right tools. Fortunately, the list is short, and most items are inexpensive:
Basic toolkit for hardware repair:
- Phillips-head screwdriver (magnetic tips are extra handy)
- Anti-static wrist strap (to protect parts from static electricity)
- Small container (to hold screws so you don’t lose them)
- Flashlight or good desk lighting
- Compressed air canister (for cleaning dust)
Optional but nice to have:
- Thermal paste (if you plan to reseat or replace a CPU)
- Plastic spudger or pry tool (for opening cases without scratches)
- External hard drive enclosure (for recovering data from an old drive)
With these basics, you’ll be ready to handle most at-home repair jobs without frustration.
Components That Can Be Serviced
Now let’s talk about the good news—what you can fix. Many parts of a computer are designed to be replaceable, making them beginner-friendly for repair.
Easy-to-service components include:
- RAM (memory): Usually the simplest upgrade or repair. If a stick fails, just pop it out
 and install a new one.
 - Storage drives (HDDs/SSDs): If your drive fails, you can replace it with a new one and reinstall your operating system (backups are essential here).
- Power supply (PSU): When a PSU dies, swapping it out is straightforward. Just make sure to match the wattage and connector types.
- Graphics cards and expansion cards: Easy to remove and replace as long as your motherboard and power supply are compatible.
- Cooling fans: Simple to replace and critical for keeping your PC healthy.
- Cables: Loose or damaged cables can be replaced with minimal effort.
 and install a new one.
These repairs are safe and practical for most users as long as you take your time, keep track of screws, and follow a step-by-step approach.
Components That Can’t Be Serviced
Of course, not everything inside your computer can be easily repaired. Some parts are too delicate, complex, or integrated to be worth tinkering with unless you have advanced technical skills and the right equipment.
Difficult or unsafe components to service:
- Motherboard: While you can replace the whole board, repairing it (such as soldering capacitors) is advanced work. For most users, replacement is the only option.
- CPU (processor): CPUs rarely fail, and when they do, replacing them requires careful handling. Replacing a CPU is virtually impossible at home.
- Laptop components: Many laptops use soldered or highly compact components. Things like soldered RAM, integrated batteries, and ultrathin boards aren’t beginner-friendly.
- Power supply internals: You can replace the PSU itself, but don’t ever open one up—capacitors inside can hold a dangerous charge even when unplugged.
- Monitors and displays: Screen repairs are often more expensive than replacement, and DIY fixes can be risky.
The general rule of thumb? If a component requires soldering, advanced testing equipment, or poses a safety risk, it’s best to replace it or call in a professional.
Conclusion
Computer hardware repair doesn’t have to feel overwhelming. With the right tools, a safe workspace, and some patience, you can take care of many common issues yourself—like replacing RAM, drives, or fans. At the same time, it’s just as important to recognize the limits of what you can do at home. Parts like the motherboard, CPU, or PSU internals are best left alone.
By learning what’s safe and simple to fix, you’ll not only save money but also gain confidence in maintaining your computer. The next time your PC misbehaves, you’ll know whether it’s a quick DIY job or something worth leaving to the pros.
👉 Have you ever tried repairing your computer? What was the easiest or trickiest fix you’ve tackled? Share your story in the comments—I’d love to hear it!