
How to Install and Set Up Your PC Components: A Beginner-Friendly Guide
Building your own PC can feel a bit like assembling a futuristic LEGO set—only with way more cables and fewer dragons. But honestly, it’s not as intimidating as it seems. With the right prep, a clear plan, and a little patience, anyone can install and set up their PC components from scratch. Whether you’re upgrading an old system or piecing together a brand-new rig, understanding the process will help you avoid headaches, save money, and end up with a system you can be proud of.
In this guide, we’ll walk you through everything from preparing your workspace to installing your operating system. My goal? To help you feel comfortable, confident, and ready to tackle your PC build like a pro. Ready to dive in? Let’s do it!
1. Preparing for Installation
Before you start snapping parts into place, preparation is key. A clean, organized workspace and the right tools make the entire process smoother and far less stressful.
Gather Your Components and Tools
Here’s what you’ll typically need:
- PC case
- Motherboard
- CPU
- CPU cooler (air or liquid)
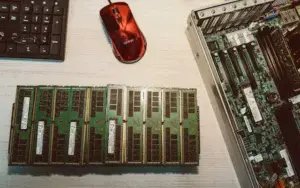
- RAM
- Storage (SSD/HDD)
- Power supply (PSU)
- Graphics card (GPU) — optional for non-gaming setups
- Screwdrivers (mainly Phillips #2)
- Anti-static wrist strap (optional but helpful)
- Thermal paste (only if your cooler doesn’t come with some pre-applied)
Double-check compatibility before you start. Make sure your motherboard works with your CPU, your RAM is the right type (like DDR4 or DDR5), and your case supports your motherboard size (ATX, Micro-ATX, etc.).
Prepare Your Workspace
- Work on a solid, non-carpeted surface.
- Keep pets (especially fluffy ones) away—static electricity + cats = disaster.
- Lay down a clean towel or anti-static mat to protect your components.
Once everything is in place, you’re ready to move on to the fun part.
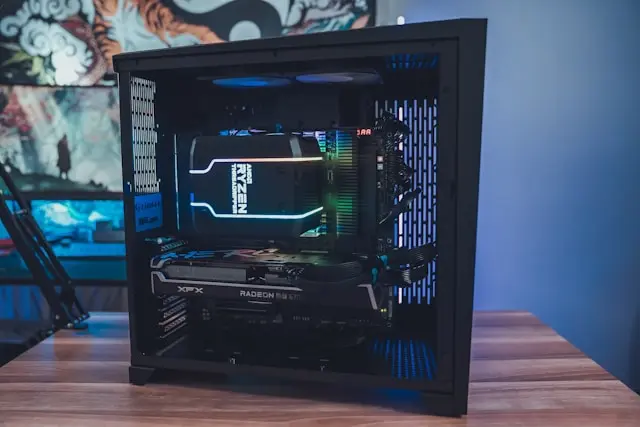
2. Step-by-Step Installation of PC Components
This is where your build comes to life. Follow these steps in order to make things as easy as possible.
Install the CPU
- Open the CPU socket on the motherboard by lifting the metal lever.
- Align the arrow on the CPU with the arrow on the socket.
- Gently place the CPU in—no pressure needed.
- Lower the lever to secure it.
If you hear crunching sounds… stop. Something isn’t aligned correctly.
Install the CPU Cooler
Your cooler keeps your CPU from overheating.
- Air cooler: Apply a pea-sized drop of thermal paste, then screw down the cooler evenly.
- Liquid cooler: Mount the radiator on the case and install the pump on the CPU, following the manufacturer’s instructions.
Install RAM
- Open the RAM slots by pressing the latches outward.

- Align the RAM stick with the notch on the slot.
- Press firmly until both sides click into place.
Install Storage (SSD/HDD)
- 2.5″ or 3.5″ drives: Screw them into the case brackets and attach SATA cables.
- M.2 NVMe SSDs: Slide into the M.2 slot at a slight angle, then screw it down.
Place the Motherboard in the Case
- Install the I/O shield in the back of the case (unless it’s built in).
- Line up the screw holes and gently lower the motherboard into place.
- Screw it down using the standoffs.
Install the Power Supply
- Slide the PSU into the case—typically bottom-mounted.
- Screw it in securely.
- Route cables through the cable-management openings.
Install the Graphics Card
- Remove the PCIe slot covers from the case.
- Insert the GPU into the top PCIe slot (usually the primary one).
- Screw the GPU into the case.
- Connect your PCIe power cables from the PSU.
Connect All Power and Data Cables
This is where cable management begins:
- 24-pin motherboard power
- 8-pin CPU power
- SATA power and data cables
- Front panel connectors (power button, USB, audio)
- Case fan cables
Take your time with the front panel connectors—they’re the trickiest part for most beginners.
3. Setting Up the BIOS and Initial Configuration
When the hardware is all installed, it’s finally time to fire it up. If everything turns on without sparks or smoke, you’re already ahead of the curve.
Enter the BIOS
When your PC boots:
- Press Delete, F2, or the key shown on-screen to enter the BIOS.
Here’s what to check:
Check That Your Components Are Recognized
- CPU and RAM should show up correctly.
- SSD/HDD should appear in the storage list.
- Fans and temperatures should look normal.
Enable XMP or EXPO for RAM
Your RAM won’t run at full speed unless you enable its performance profile.
- Look for XMP (Intel boards) or EXPO (AMD boards).
- Turn it on. Trust me, you want those extra MHz.
Set Boot Priority
Make sure your USB drive (with Windows or Linux) is the first boot device.
Optional Tweaks
- Change fan curves for quieter performance.
- Switch to AHCI mode for better SSD performance.
- Update your BIOS if needed (only if recommended).
Hit Save and Exit, and let your PC restart.
4. Installing the Operating System and Drivers
This is the final stretch—and where your PC starts to feel like an actual computer instead of a fancy metal box full of glowing fans.
Install Windows or Another OS
- Plug in your bootable USB drive.
- Select your language and region.
- Choose your installation drive (your SSD).
- Follow the prompts until Windows completes installation.
Install Drivers
Your PC will work without drivers, but not well. You’ll need:
- Motherboard chipset drivers
- Graphics card drivers (NVIDIA/AMD)
- Wi-Fi and LAN drivers
- Audio drivers
- Monitor drivers (optional but helpful for color quality)
You can download them from the manufacturer’s websites.
Update Windows
Yes, the updates are annoying. Install them anyway—they fix bugs and improve performance.
Check Device Manager
Make sure nothing has a yellow warning icon. If so, install the missing driver.
Conclusion
Installing and setting up your PC components is one of the most rewarding tech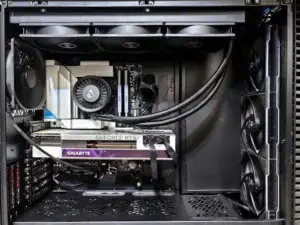 experiences you can have. Not only do you gain a deeper understanding of how your system works, but you also build a machine tailored exactly to your needs. Sure, the process can feel overwhelming at first—there are a lot of parts and cables—but once you break it down step by step, it becomes much more manageable.
If you run into hiccups, don’t stress. Troubleshooting is part of the experience, and every build teaches you something new. And when you finally see your desktop light up for the first time, you’ll know it was all worth it.
If you have questions, need help with your own build, or want feedback on your component list, drop a comment below! I’m always here to help.